Tools of the Trade

Day Four: Olfa Art Knife

A few years ago, I spent each day in January writing about a different tool I use in my maskmaking. As I am currently redesigning my entire website in the new year, I thought it might be nice to revisit this project.  Each day in January 2021, I’ll share a different item that I use in my studio. I hope some of these can help other people who are interested in making wrestling masks. 

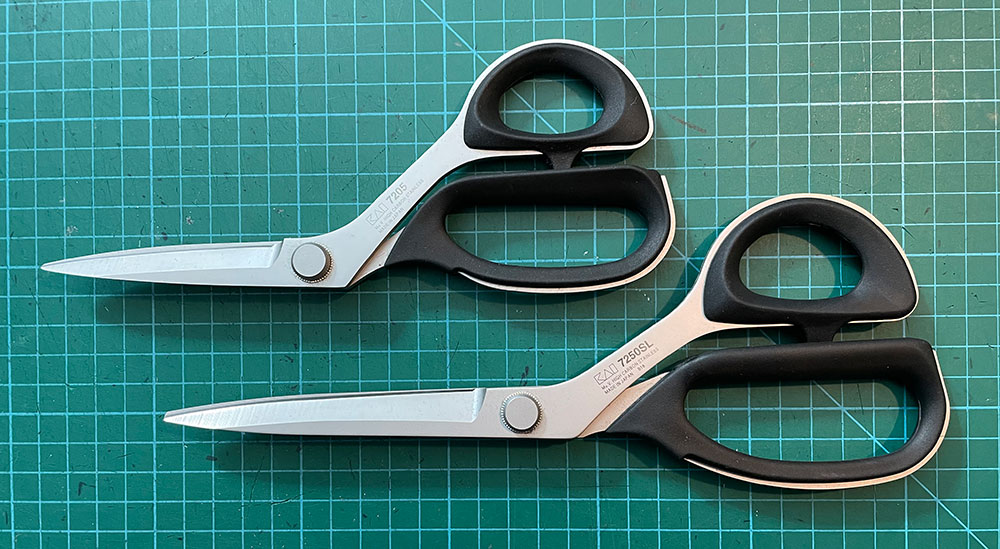
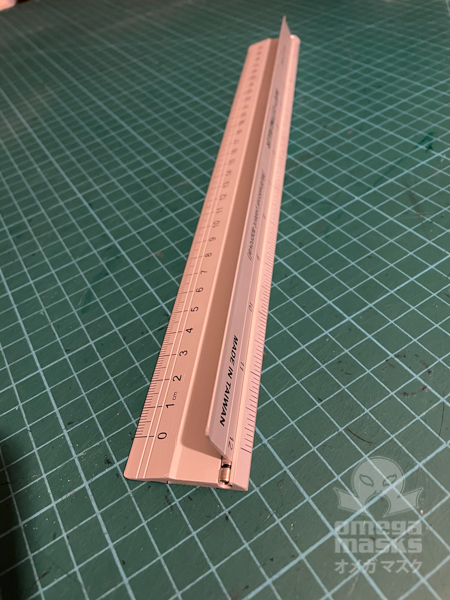
So while I do most of my fabric cutting with Kai Professional Shears, and do most of my parts trimming with Olfa SCS-1s, when I’m cutting vinyl or leather for the various plates ion my masks, I almost always use an Olfa Art Knife. More specifically, I use a special handmade version that I bought a couple of years ago at Design Festa, a big arts and crafts show in Tokyo. A wood turner I met makes these awesome handles, inside of which is a standard Olfa Art knife. I find that the chunkier handle is much easier on my hand when I’m cutting vinyl for an hour or more. This is one of my favourite tools I own.

The Japanese made Olfa blades are top of the line. The 45 degree angle is excellent for cutting. (A lot of folks use the standard Xacto #11 blades that are commonly found most anywhere, but I find the metal that Xacto uses to be too brittle, and I’m constantly breaking the tips off those blades. I do use them when I’m just cutting paper, since I don’t have to bear down nearly as much as when I’m cutting vinyl and leather.) Olfa blades are durable and sharp; they just slide through vinyl like butter. I also like how they come in a handy little plastic case that keeps them safe while sitting next to my tool jar. Plus, there’s an empty section of the box, and when you open the top, there’s a little slit that aligns with the empty compartment. This means you can use the same box as a container for blades that have gone dull, keeping your fingers safe and allowing you to easily dispose of the blades when the box is full.

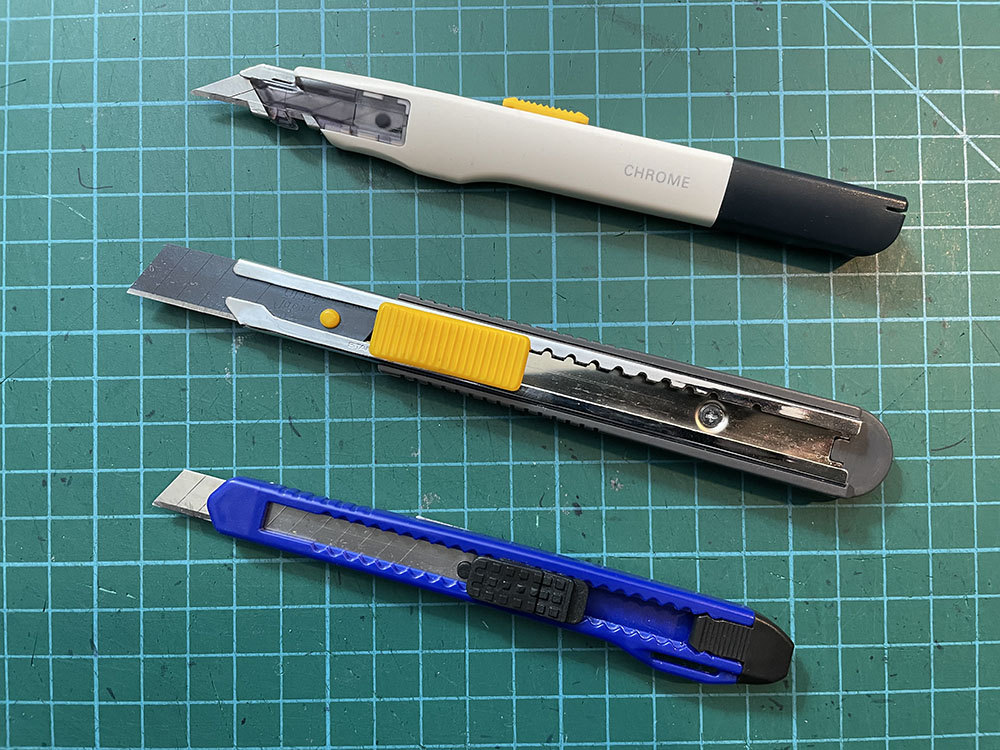
There are a few other knives I use regularly. First is the VViViD retractable, which uses a 30 degree snap-off blade. The handle is very comfortable. I use this knife when I’m cutting very small details and need to make lots of sharp turns.

Next is another Olfa knife, one with a snap-off 9mm blade. (I can’t find this exact knife online, but this one is similar.) Nice slim and sharp blade, I keep this one next to my cutting table and use it to make rough cuts in my vinyl, separating the parts I traced patterns on from the larger body of material.

Last is a cheapo snap-off knife, probably from Harbor Freight. I use this to quickly cut down pattern paper.

I always like to try out new knives, so I have a bunch laying around that get varied levels of use. 

The top one is a standard metal Olfa art knife, which is what I used until I got that wooden grip version.

Next is a Fiskars SoftGrip Craft Knife, which accepts standard Xacto blades. The grip on this one is very comfortable.

The green knife is an Excel Blades Fitgrip Knife, which also takes Xacto blades and has a nice grip on it. It’s inexpensive and comes in several colours. I keep this one next to my computer, which is where I frequently cut my patterns (for some odd reason.)

Lastly is the Xacto Craft Tools #1 Knife, which has a nice ergonomic grip. (But I find myself reaching for the Excel Fitgrip more often!) This knife also comes in a variant that has a swivel blade, but I’ve never gotten the hang of it.


Finally we have these Fiskars knives with a more radical form factor. All of these slip over your index finger, allowing you to naturally grip the shaft right above the blade. These are, top to bottom, a standard #11 blade, a swivel blade (again, I don’t really know how to use these effectively), and a rotary cutter (which I can’t find a link for). Jade Masks frequently uses the top one, or a similar equivalent.

Tools of the Trade

Day Three: Kai Professional Shears

A few years ago, I spent each day in January writing about a different tool I use in my maskmaking. As I am currently redesigning my entire website in the new year, I thought it might be nice to revisit this project.  Each day in January 2021, I’ll share a different item that I use in my studio. I hope some of these can help other people who are interested in making wrestling masks. 

I do most of my fabric cutting with Kai Professional Shears. They’re high-quality Japanese made scissors that aren’t heavy and feel really good in my hand. Plus, the blades just slide through spandex. The angled handles make it really convenient for cutting fabric on a tabletop. I have the 7205, which has about a 9 cm blade, and the 7250SL with a 12 cm blade. The “SL” indicates that this  is the slim version, so a lighter weight pair of shears.

Tools of the Trade

Day Two: Olfa Scissors

A few years ago, I spent each day in January writing about a different tool I use in my maskmaking. As I am currently redesigning my entire website in the new year, I thought it might be nice to revisit this project.  Each day in January 2021, I’ll share a different item that I use in my studio. I hope some of these can help other people who are interested in making wrestling masks. 

Olfa Scissors

When I was studying with Mister Cacao in Japan, he used the Olfa SCS-1 scissors for EVERYTHING. They have a microserration in the blades that helps the scissors bite into the fabric and cut it cleanly. They’re simply wonderful! I keep a pair right next to my sewing machine and use them to trim fabric and vinyl. I also have a larger pair (the SCS-2) which I use for bigger jobs. They cut vinyl a lot better than most other scissors I’ve tried.

The one drawback is that you can’t really sharpen them due to the microserration, so I keep surplus pairs on hand to use as my main pair dulls. (But even once they’re past their prime, they make wonderful utility scissors, so I never throw them away!)

Tools of the Trade

Day One: Safety Cutting Ruler

A few years ago, I spent each day in January writing about a different tool I use in my maskmaking. As I am currently redesigning my entire website in the new year, I thought it might be nice to revisit this project.  Each day in January 2021, I’ll share a different item that I use in my studio. I hope some of these can help other people who are interested in making wrestling masks. 

I do a fair amount of prototyping patterns in paper and cardstock. I’ll sketch up an idea for a new mask element, cut them out, and see how they look. This helps me figure out relative sizing. Sometimes I’ll try and create new 3D constructions, in which case I get out the tape and assemble them to see how the shapes turn out. A metal ruler helps a lot in this process, when I want to cut out a nice straight line using a utility knife. I have several such rulers, but none seemed to be ideal, as they would slip while I was cutting and I was afraid of cutting myself.

Enter the Safety Cutting Ruler by Imperial Global. I looked at a lot of different metal rulers, some of which were even designed for using as an edge to cut against, but this one really grabbed me. The gimmick is that it has a hinged flap that lays flat when you’re using it as a ruler, but then you can lift it up to act as a shield to protect your fingers when you’re cutting. I have a few other “cutting rulers,” but this one is definitely the best, as the cutting shield is quite close to the actual edge of the ruler, meaning you can have your fingers well over the centreline of the ruler, keeping the ruler in place with downward pressure. Additionally, the bottom of the ruler has an excellent nonskid strip to keep it from moving around, and the cutting edge lies nice and flush with the surface you’re cutting on. 

This is the 30 centimetre/12 inch version of the ruler. I liked it so much, I bought the 60 centimetre/24 inch version as well. I wish they also made a shorter version, as much of the cutting I do is of smaller pieces of paper, but I’m very happy with these rulers as is.

You can get the 30cm/12″ ruler here, and the 60cm/24″ version here.


The Old Days


I decided to trash my whole website and start pretty much from scratch for 2021. I’m building the whole thing in WordPress, something I haven’t worked with for a few years, so excuse the raw edges and the occasional oddity. 

One of the things I wanted the new site to have was a photo gallery, so I’m going through my huge photo collection in Lightroom, looking at all the photos tagged with “omegamasks.” One of the earliest pictures in there is this one from 2013. This was my “studio” then: the kitchen table with the Morse home machine my sister kindly donated to me, a couple of lamps, and a couple of plastic boxes of materials. How far we’ve come!