Tools of the Trade

Day Thirty-One: Vinyl Storage

A few years ago, I spent each day in January writing about a different tool I use in my maskmaking. As I am currently redesigning my entire website in the new year, I thought it might be nice to revisit this project.  Each day in January 2021, I’ll share a different item that I use in my studio. I hope some of these can help other people who are interested in making wrestling masks. 
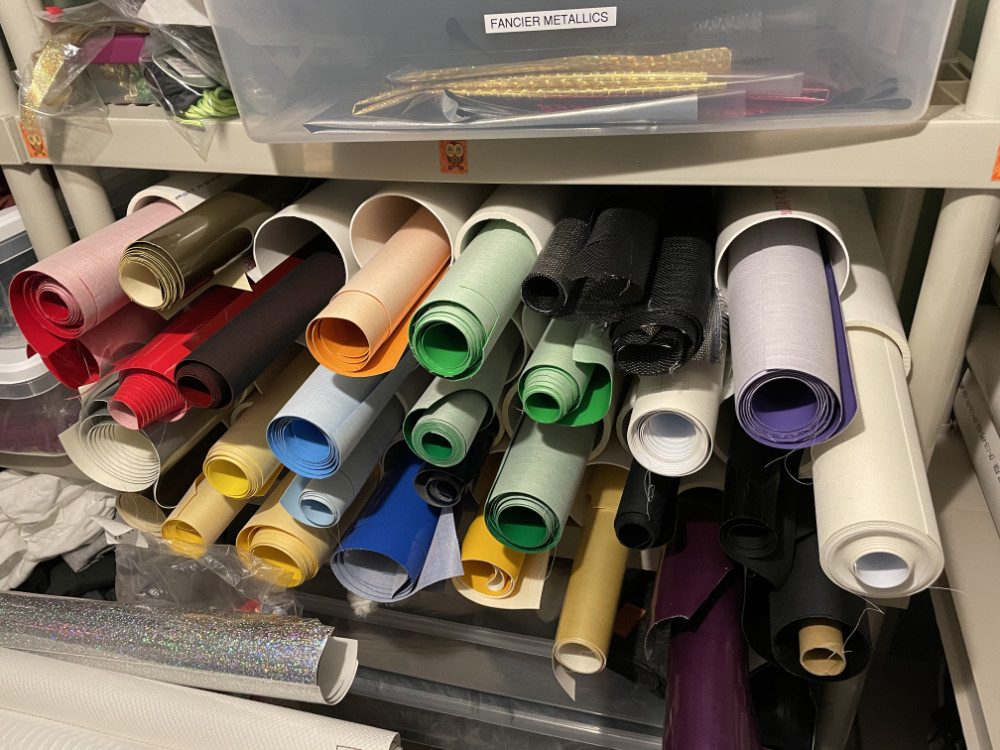
I used to store my vinyl loosely folded in plastic boxes, but even loosely folded vinyl will get creased and become difficult to work with. I looked around for a way to store material rolled up, but most of the methods I found were unwieldy or inappropriate. A lot of leatherworkers store their leather rolled up and stacked in bins, but then you’ve got to sift through it all and dig what you want out of the middle of the mound. I finally came up with my own storage method.
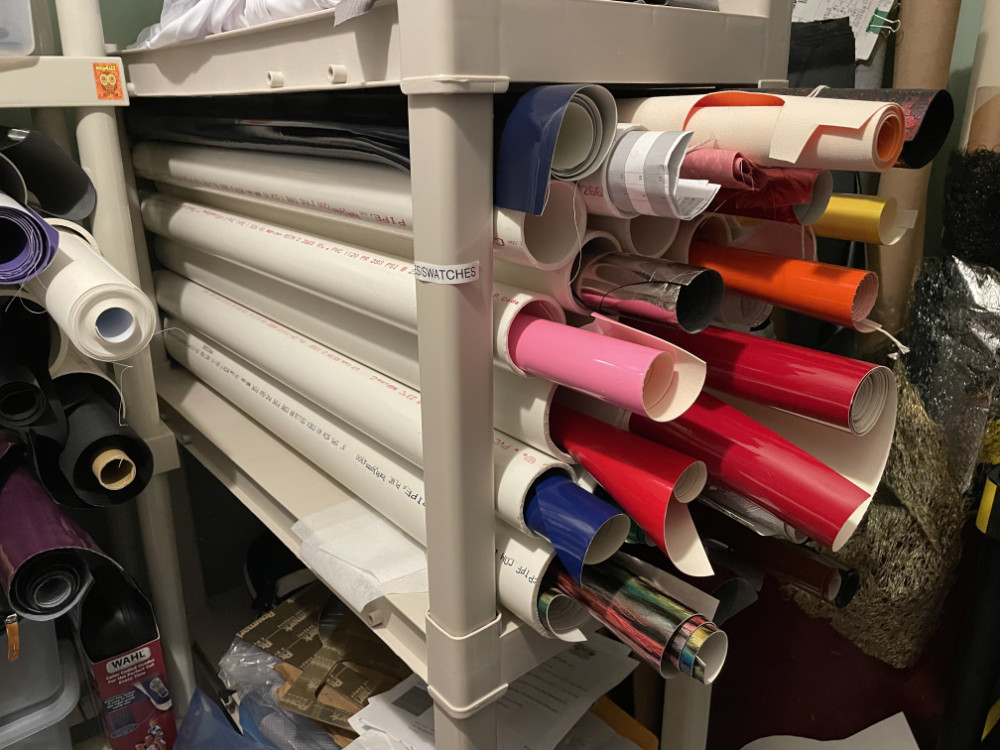
  

I went to Home Depot and bought some ten foot sections of pvc pipe. I cut them into shorter lengths, and then washed them inside and out so my vinyl wouldn’t get dirty. Then I stacked the pipes on one of my plastic shelves—the pipes were just a bit longer than the shelves were deep, so they pressed against the side supports of the shelf, and settled into their own stacked structure naturally. On one set of shelves (first picture) I put them in the short orientation, and on another (second picture) they went in the long way. Then I just rolled up my vinyl and slid it into the tubes.
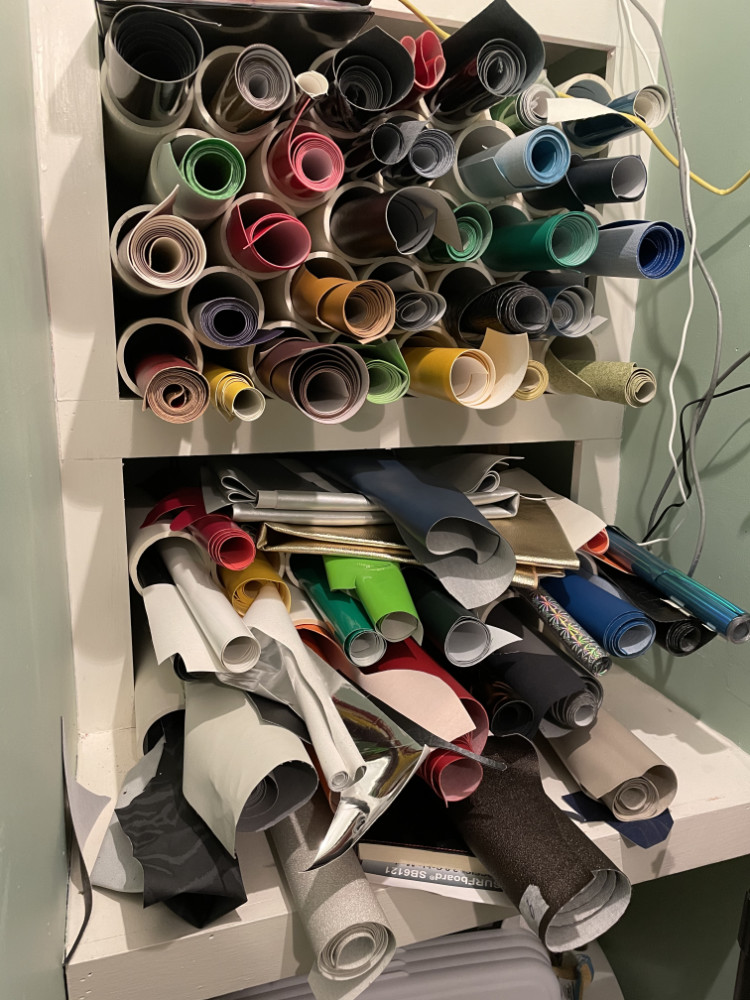
This keeps the vinyl separate and easy to see and easy to select and pull out. It’s worlds better than my old method of vinyl storage.

I also have some built-in shelves in my fabric room, so I cut some pvc pipes for that area too (third picture). I’m really happy with it.

So that’s the end of the month, and the end of this series of “Tools of the Trade” posts. I hope some folks out there discovered some tips and tools that might help you make your own wrestling masks. Enjoy!

Tools of the Trade

Day Thirty: Mannequin Heads

A few years ago, I spent each day in January writing about a different tool I use in my maskmaking. As I am currently redesigning my entire website in the new year, I thought it might be nice to revisit this project.  Each day in January 2021, I’ll share a different item that I use in my studio. I hope some of these can help other people who are interested in making wrestling masks. 

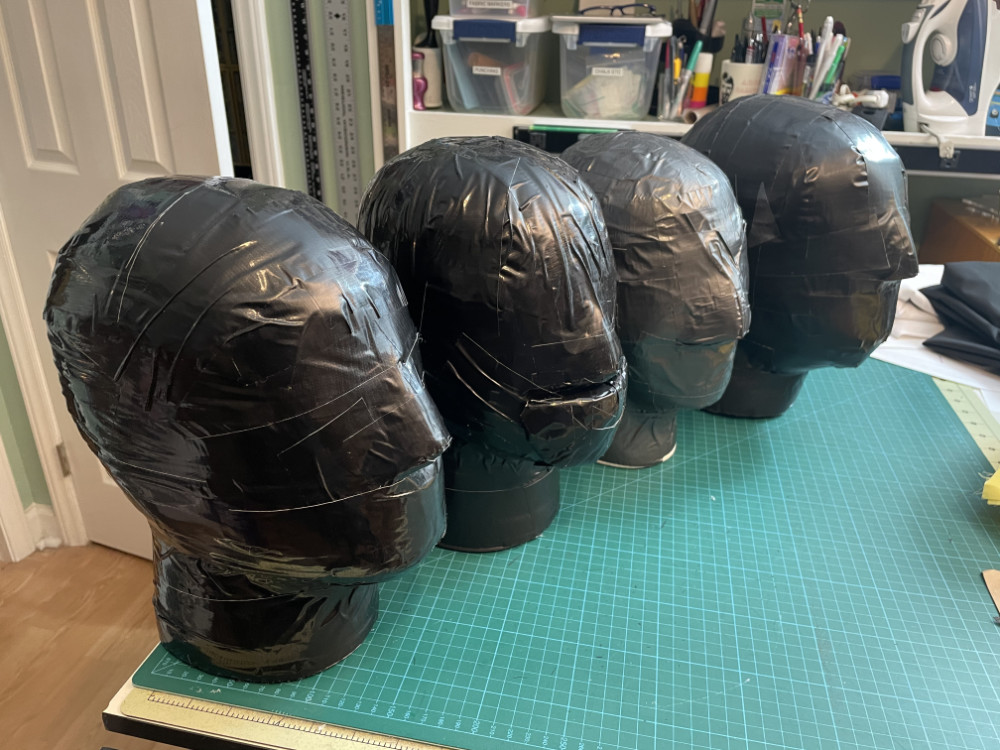
To make a really good professional wrestling mask, you need a life-size mannequin head. Ideally, you’ll have a head exactly the size of the person you’re making the mask for, but really you can get by with small, medium, and large heads. The problem is, it can be difficult to find a mannequin head that is indeed life-size, as most commercial heads are quite a bit smaller than the average human head. After searching for a long time, I finally decided to make my own. I watched a bunch of YouTube tutorials, and observed the heads a number of mascareros used, and combined elements from a number of these along with some ideas of my own, and made what you see here. From left to right is my medium or average head that I use for myself and most of the masks I make, a special head I made to help me make the Ophidian mask (which has a magnetic removable piece over the mouth area, since the Ophidian mask floats over the mouth), a small size head, and a larger head. If you’re interested in making your own mannequin head, I put together my own YouTube tutorial video to show you how you might give it a try!

Tools of the Trade

Day Twenty-Nine: Project Tray

A few years ago, I spent each day in January writing about a different tool I use in my maskmaking. As I am currently redesigning my entire website in the new year, I thought it might be nice to revisit this project.  Each day in January 2021, I’ll share a different item that I use in my studio. I hope some of these can help other people who are interested in making wrestling masks. 

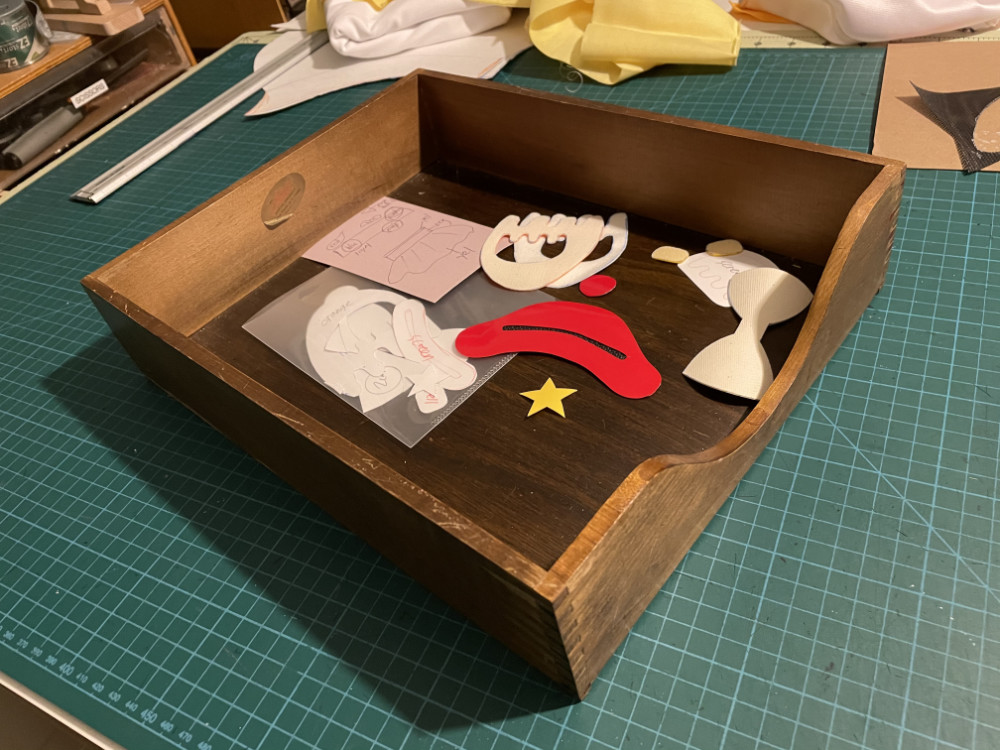
I saw @kazu_konosu using a shallow tray to organize his wrestling mask projects, and I thought it was such an excellent idea, I started doing it myself. Keeping your plate pieces, mask parts, and notes in a tray makes it easy to carry between your cutting area and your sewing area, makes it more difficult to misplace something, and makes it easy to store away between sewing sessions. My tray is an old wooden “in” tray that used to belong to my boss at my old job. He passed away (after still working in the office and teaching until age 96!) and I think he’d like knowing that it’s still proving to be useful. I try and thank him every time I use it.

If you work on multiple projects at a time, get multiple trays that stack, and you can organize and prioritize. Another option is project boxes. They make these neat clipboards that are also latch boxes. There are fancy metal ones for construction sites, but I have a few I bought that are designed for kids, and are made of bright plastic. (These aren’t the ones I have, but it seems like a good deal. I really like the clear ones too, but they’re a couple of dollars more.)

Tools of the Trade

Day Twenty-Eight: Sistema Storage

A few years ago, I spent each day in January writing about a different tool I use in my maskmaking. As I am currently redesigning my entire website in the new year, I thought it might be nice to revisit this project.  Each day in January 2021, I’ll share a different item that I use in my studio. I hope some of these can help other people who are interested in making wrestling masks. 

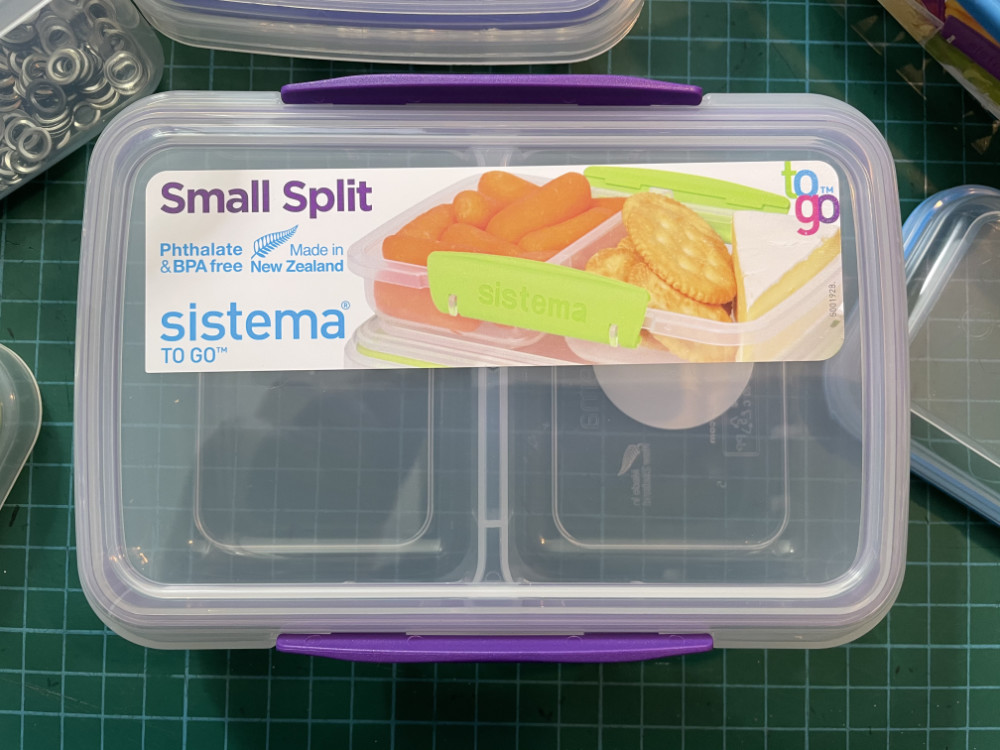
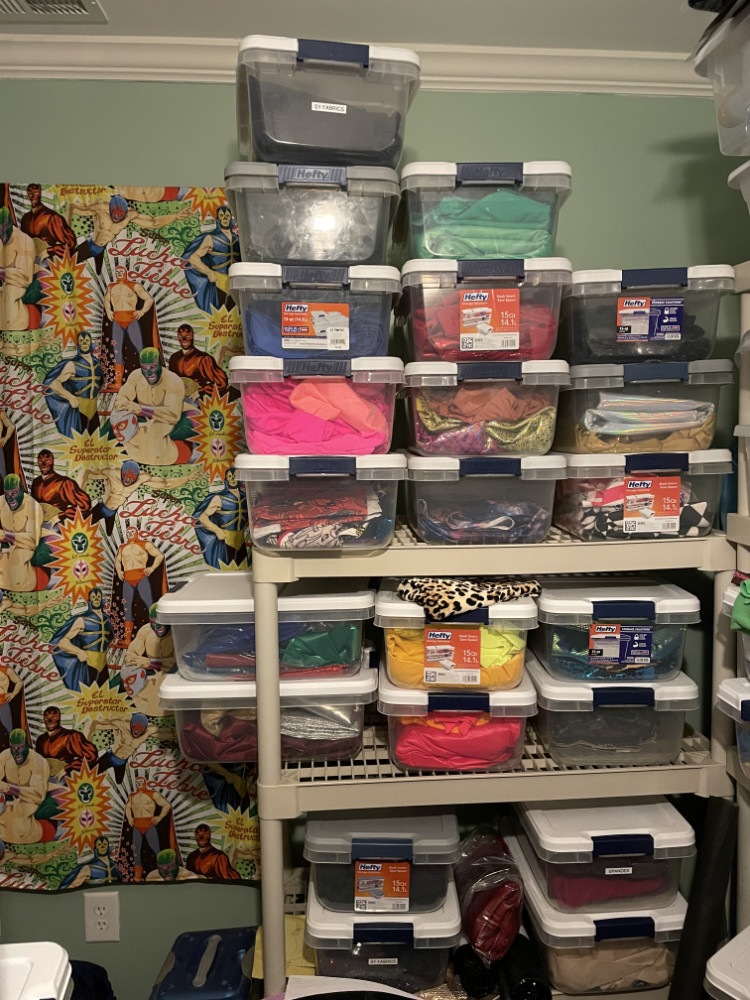
In my previous place, I had a bad mouse infestation; they got into my cardboard boxes of fabric and made a lovely nest, and then proceeded to make the rest of the apartment a wreck. The day I got rid of them, I started getting rid of all my cardboard and transitioning to plastic storage, preferably locking plastic storage. All my spandex is in locking 15 quart Hefty boxes (which I can’t find in stores anymore, so I guess I can’t buy any more spandex until I use up what I have now.) For small items, I lean towards the Sistema line of storage. They’re well made, they lock, and have a gasket in the lid to keep moisture from getting in.

I bought most of my Sistema boxes in big variety multipacks at discount stores like TJ Maxx or Marshall’s (where they were really inexpensive!). That used to be the only places I saw them, but now they seem to have been picked up by Walmart.

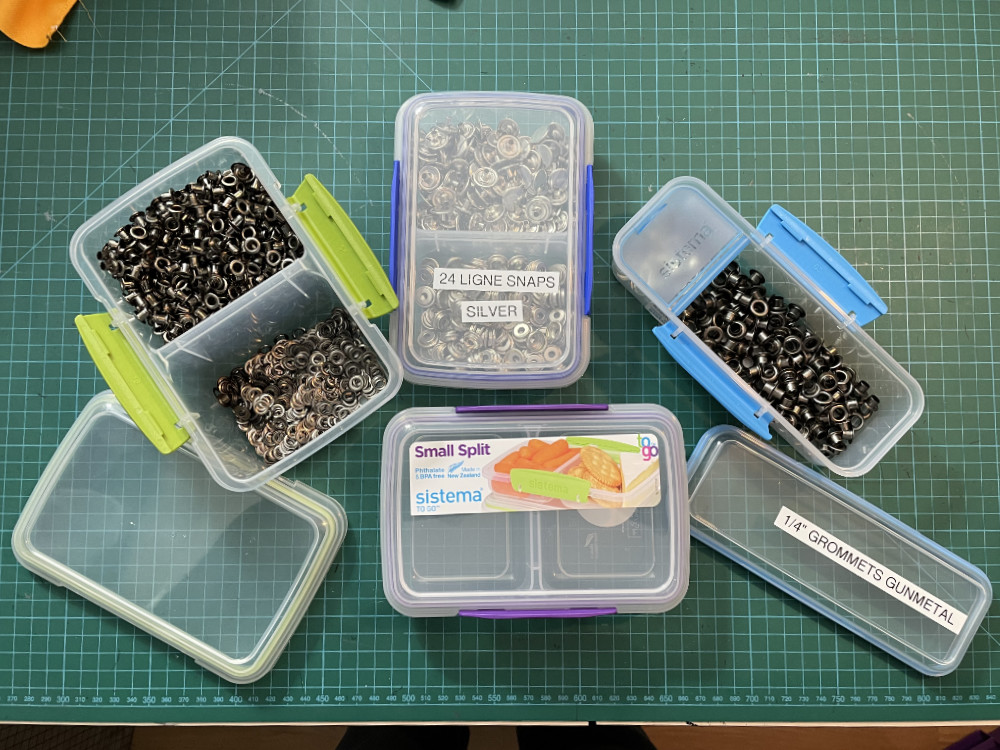
My favourite Sistema boxes are the “split” boxes, which have two compartments under the same lid. This is perfect for organizing any items that come in two parts, like snaps or grommets. The split boxes come in small, medium, and large sizes. The “Snack Attack” boxes (rightmost in the picture) are made to hold carrot sticks and a dip, but they’re perfect for grommets, where the backing rings don’t take up as much room as the grommets proper, and can be stored in the hummus compartment.

Too much spandex.

Tools of the Trade

Day Twenty-Seven: Sewing Machine

A few years ago, I spent each day in January writing about a different tool I use in my maskmaking. As I am currently redesigning my entire website in the new year, I thought it might be nice to revisit this project.  Each day in January 2021, I’ll share a different item that I use in my studio. I hope some of these can help other people who are interested in making wrestling masks. 

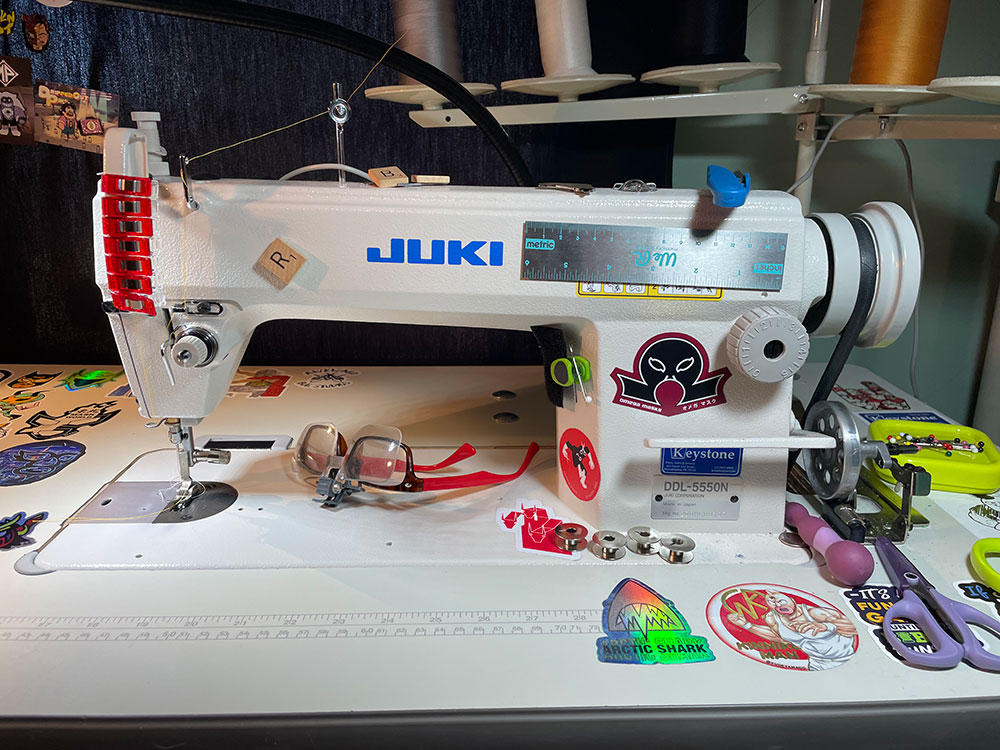
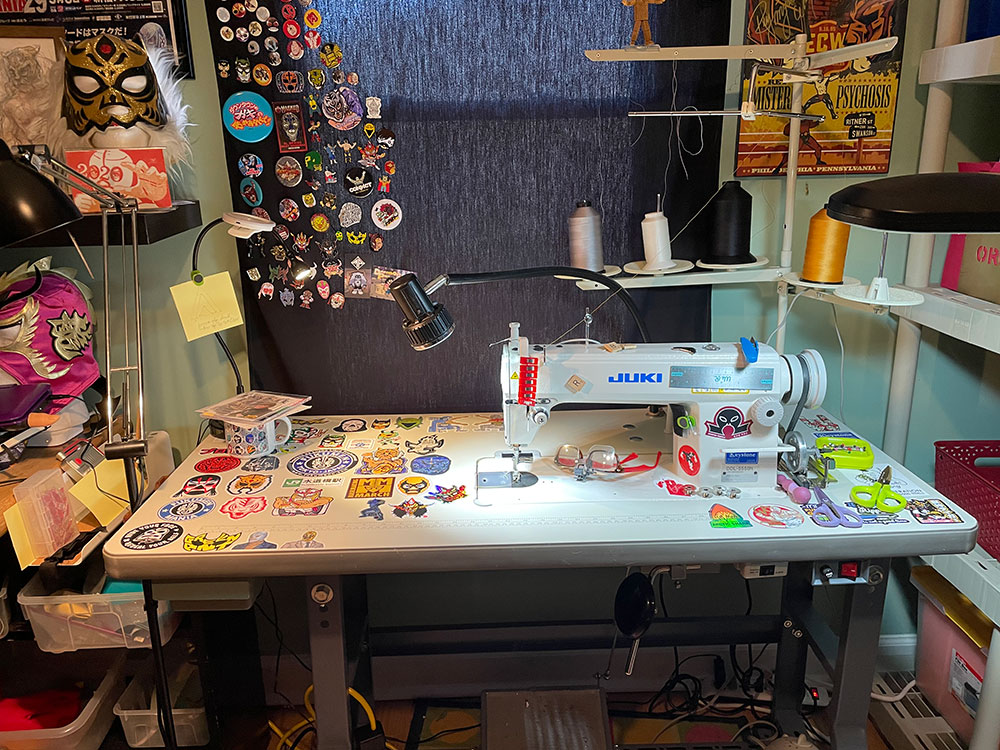
I first started making masks on my mom’s old Kenmore home machine. As I got more interested in the craft, my grandmother bought me my own Necchi machine. It proved difficult to maintain, being a modern plastic machine, so I ended up getting a used vintage Morse machine which was a real workhorse. When I decided to get serious about making masks, I decided I needed an industrial machine. I first got a Consew 226R walking foot machine off of Craigslist, but decided it was a bit brutish for masks, so I bought a new Juki DDL5500N from the fine folks at Keystone Sewing. I chose this machine because I knew Juki had a great reputation, and this model is made in Japan. It runs like a dream, and is self-lubricating, which is excellent.

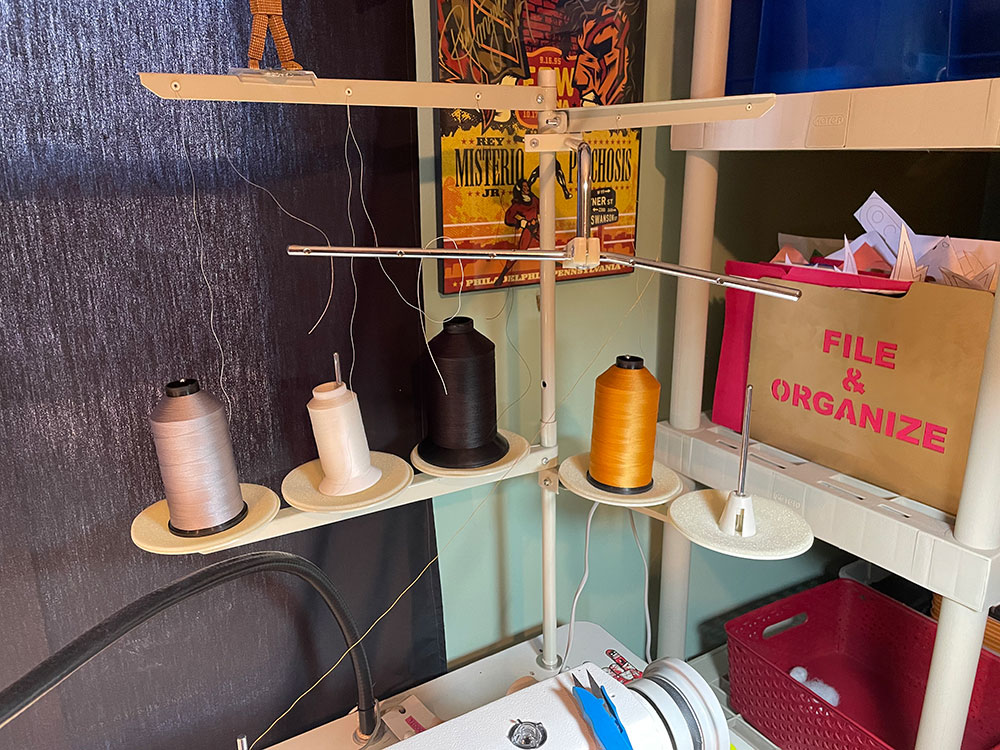
The Juki came with a two-cone thread stand, which I upgraded to a three-cone stand so that I could always have black and white at the ready, and just change out other colours on the third stand. I worked with this for a while before I found this excellent FIVE cone stand at GoldStar Tool. Now I have black, white, and silver grey always on the stand, and can swap out the other two as needed. This stand has a great thread guidance system, with one guide directly above each cone, and then a second guide bar that extends out over the machine. This really helps to prevent thread tangles.

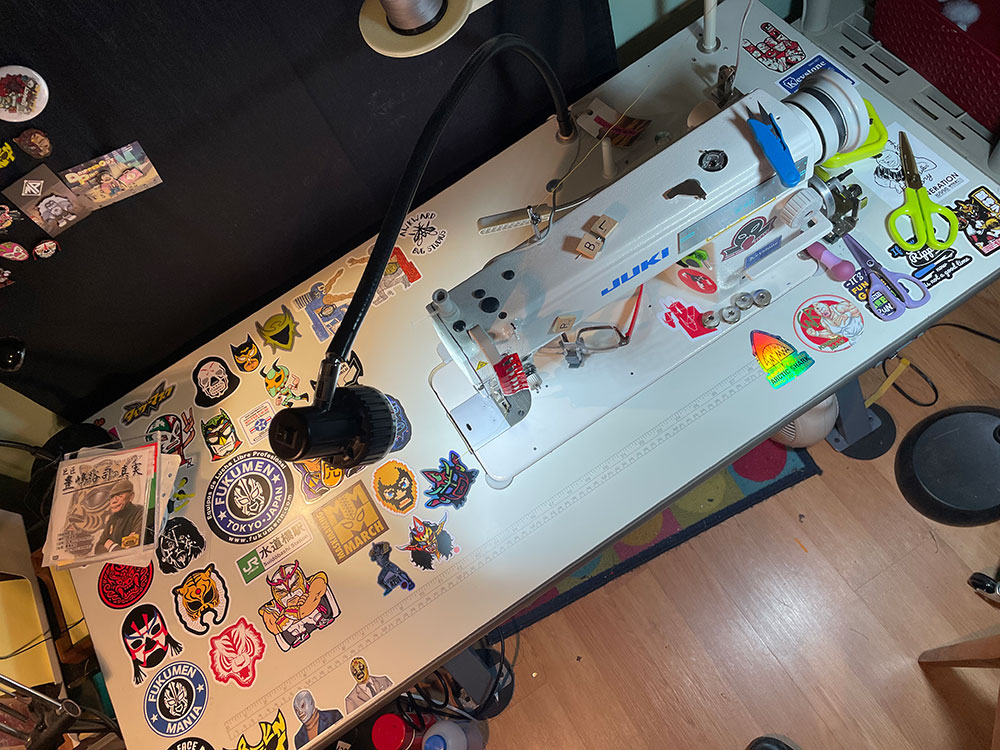
Can you tell I love mask stickers and pins?

Tools of the Trade

Day Twenty-Six: Fire

A few years ago, I spent each day in January writing about a different tool I use in my maskmaking. As I am currently redesigning my entire website in the new year, I thought it might be nice to revisit this project.  Each day in January 2021, I’ll share a different item that I use in my studio. I hope some of these can help other people who are interested in making wrestling masks. 

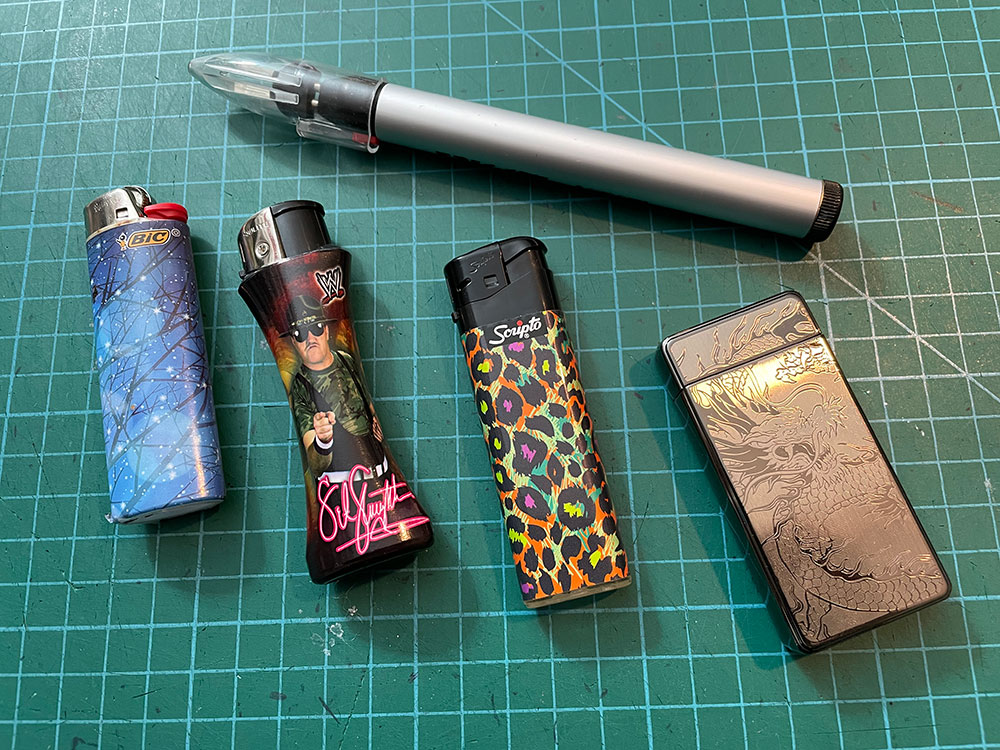
When I started taking leathercraft courses and was learning about hand sewing, they taught us to burn our thread ends to seal the piece and make it look neat. I’ve started doing that with my mask making as well. Most of the time I use a disposable Bic lighter (preferably one with Sgt Slaughter on it!) When I need more precision, I use the Wildfire Cord Cutter or the plasma lighter. The Wildfire uses batteries to heat up a little loop of wire that you can use to melt thread in tight spaces.

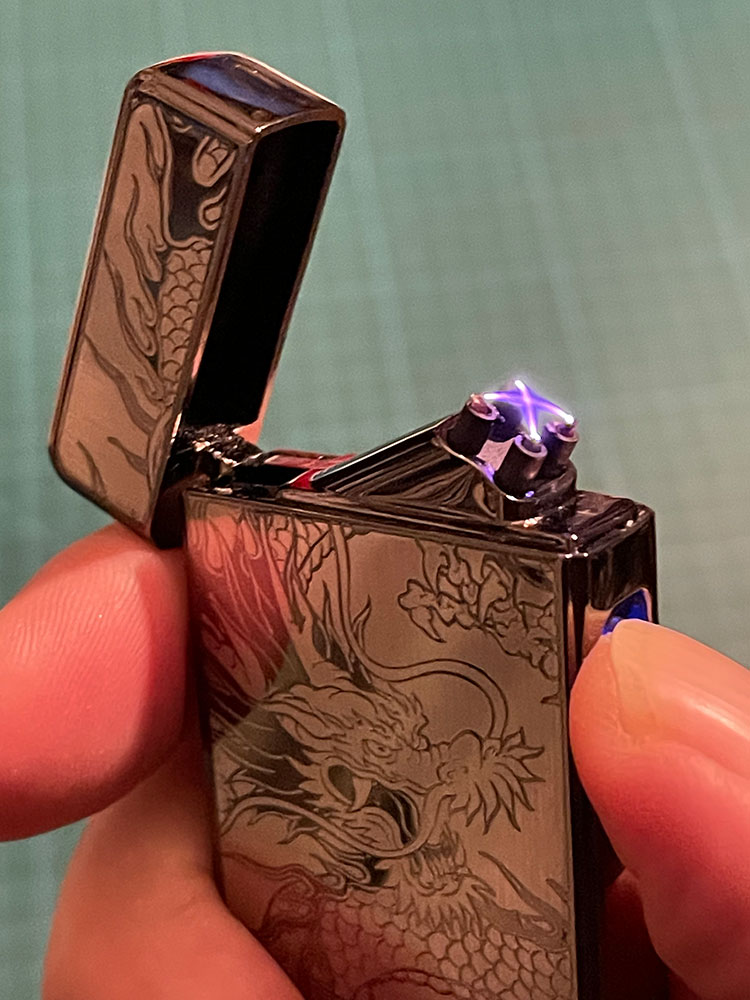
The plasma lighter is rechargeable via usb, and shoots out crossing arcs of supercharged plasma. It looks really cool, and makes burning thread into an adventure.

Tools of the Trade

Day Twenty-Five: Pattern Weights

A few years ago, I spent each day in January writing about a different tool I use in my maskmaking. As I am currently redesigning my entire website in the new year, I thought it might be nice to revisit this project.  Each day in January 2021, I’ll share a different item that I use in my studio. I hope some of these can help other people who are interested in making wrestling masks. 

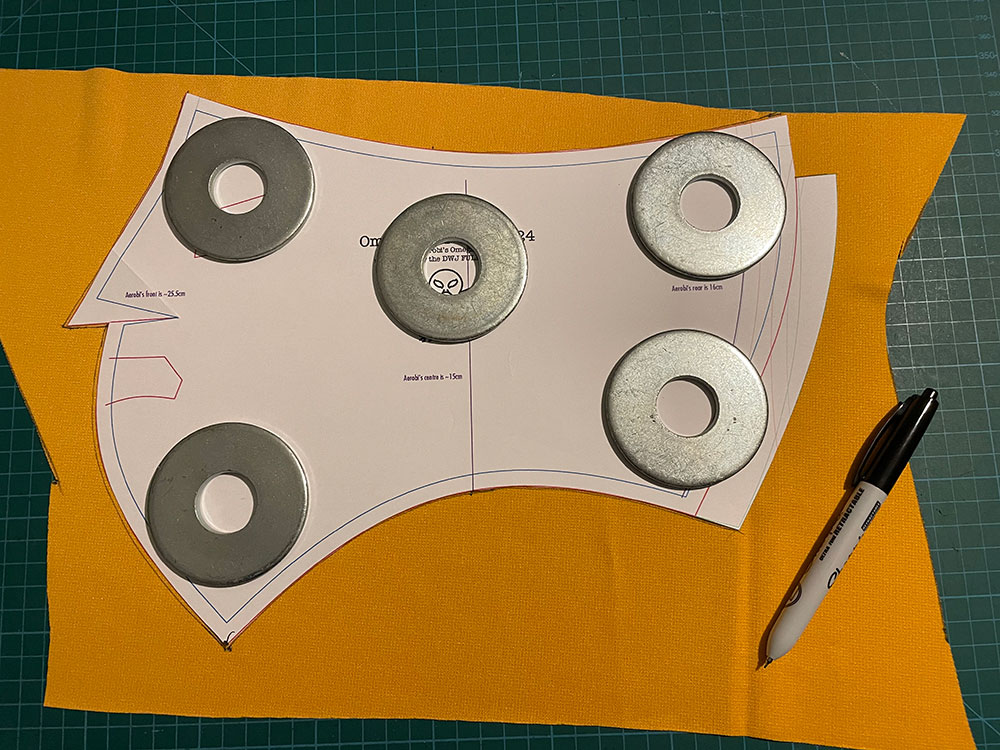
Pattern weights are one of those things that come in handy sometimes, but that seem to be surprisingly pricey at sewing stores. I just went to my local hardware store and bought the biggest washers I could find. They were dirt cheap, and each one has a good heft to it, measuring a hopping 7cm across and about 4mm thick. They’re also helpful in holding open rolls of vinyl that tend to want to roll up again while you’re trying to cut stuff out.

Tools of the Trade

Day Twenty-Four: Drawing Software

A few years ago, I spent each day in January writing about a different tool I use in my maskmaking. As I am currently redesigning my entire website in the new year, I thought it might be nice to revisit this project.  Each day in January 2021, I’ll share a different item that I use in my studio. I hope some of these can help other people who are interested in making wrestling masks. 

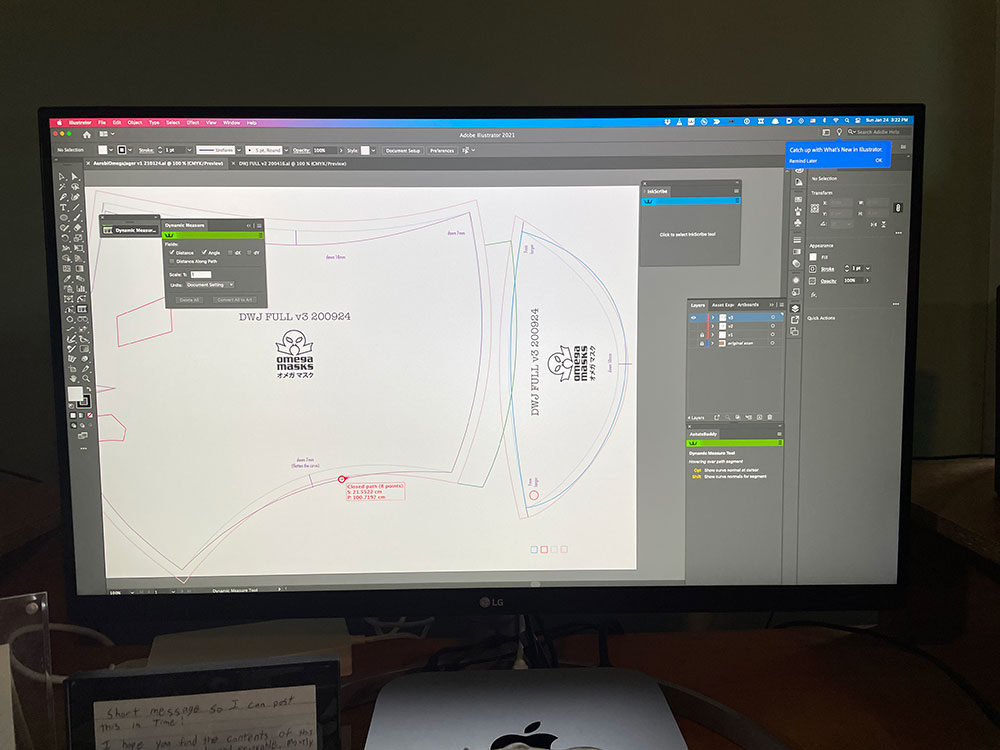
I’m a digital guy. I’m much better with a keyboard and a gigantic trackball than I am with a pencil and paper. So I draw most of my patterns on the computer and the iPad. On the computer, I use Adobe Illustrator. I rely heavily on some of the plugins made by Astute Graphics, especially MirrorMe, Inkscribe, and DynamicMeasure. MirrorMe is free, which rules, but most of their other plugins, which were on a “buy only the ones you need” plan, are now only available through the horrendous subscription scheme that so many developers are going with nowadays. But their tools are good, so I pay even though I think it’s a bad plan and quite expensive. If they insist on doing a subscription model, I wish I could just subscribe to only the tools I want. It sucks.

On the iPad, my tool of choice is Affinity Designer. Where Adobe and Astute Graphics make you pay over and over again every month for the right to use their tools (and you have to pay for ALL their tools), Affinity is a pay once and use the software model, which rocks. I’m sure at some point they’ll come out with a full version upgrade and I will have the option to pay an upgrade price at that point, but it will be my choice, and I’m predicting it will be well worth it. Affinity is a great company; at the time of this writing, Affinity is offering everything they make for 50% the normal price, and extending their try-before-you-buy period to 90 days, to help out creative people affected by the pandemic. Good people.

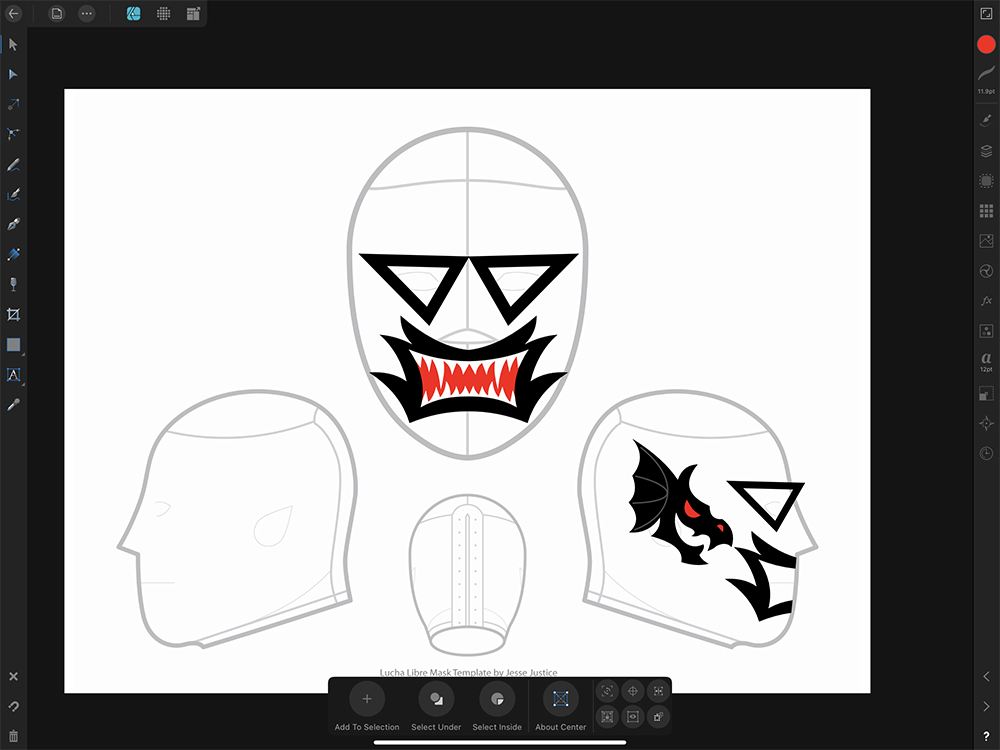
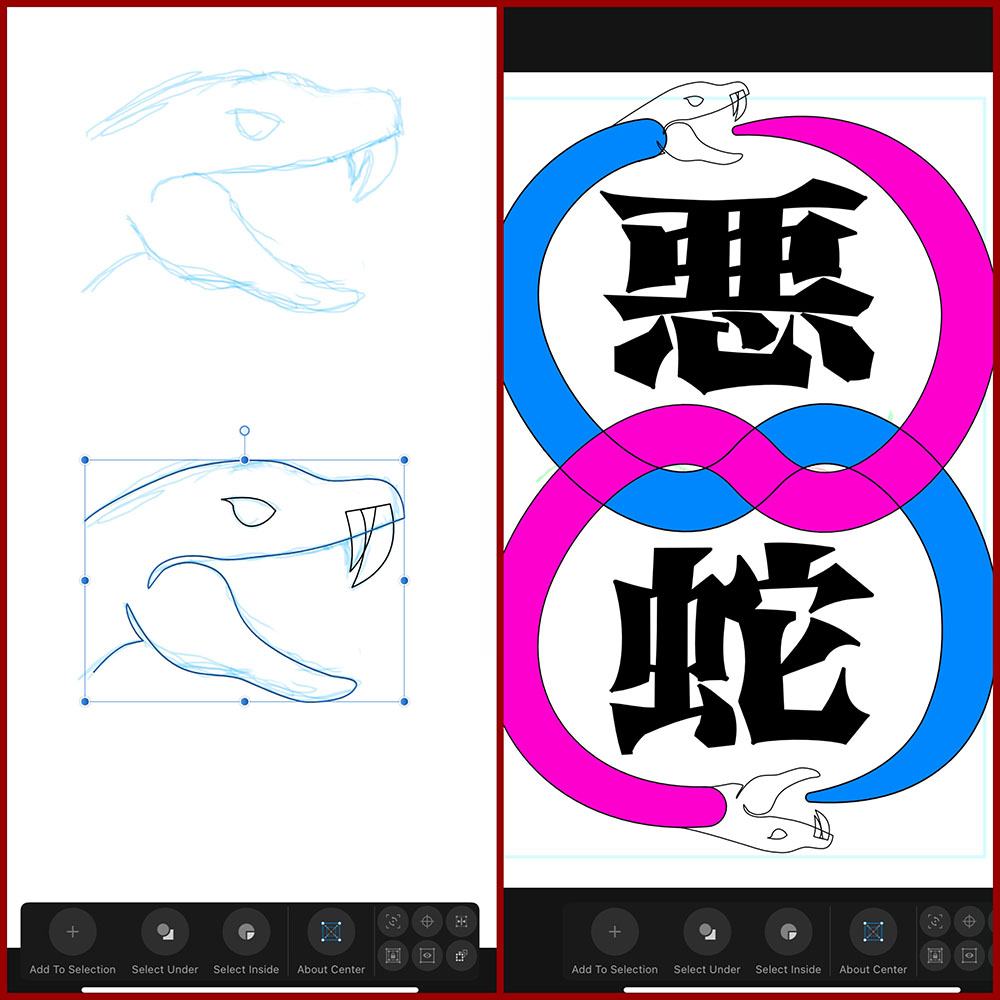
Affinity Designer is primarily a vector program (like Illustrator), but it also has quite a few bitmap (like Photoshop) abilities. This means I can freehand sketch my idea in the bitmap mode, and then switch to the vector mode to draw up nice clean graphics. I can then export this to the computer and get it all sized and printed out to use as patterns. I have an Epson WF-7510 printer, which can both print and scan up to 11×17. So I can print my patterns on 11×17 cardstock, cut them out, and if they need adjusting, I can sketch and make notes on the paper patterns, scan them back into the computer, and make the necessary changes.

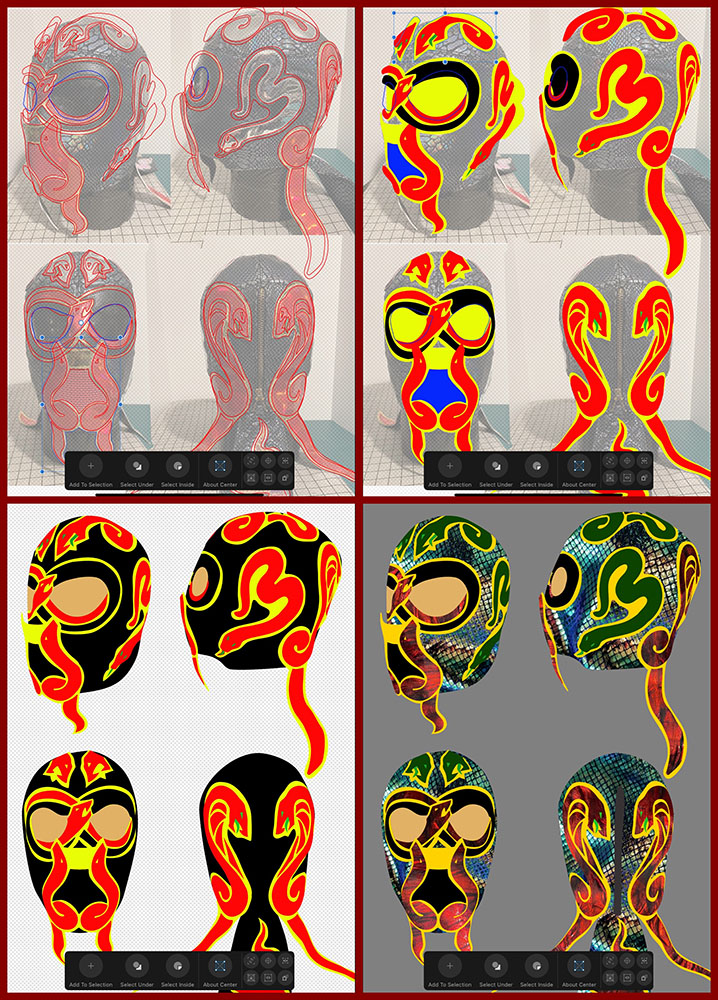
Sometimes if I’m making a complex mask, I’ll draw it all out from different angles in Affinity Designer. With each plate as its own vector element, I can quickly test different colour combinations for the mask to see how it will look. I can even drop in photos or scans of the actual spandex, vinyl, and/or leather and mask them into the vector plates (as I did in the final photo here). This gives me a great way to preview how different materials will look in a mask before I ever start sewing.

Tools of the Trade

Day Twenty-Three: Magnetic Snips

A few years ago, I spent each day in January writing about a different tool I use in my maskmaking. As I am currently redesigning my entire website in the new year, I thought it might be nice to revisit this project.  Each day in January 2021, I’ll share a different item that I use in my studio. I hope some of these can help other people who are interested in making wrestling masks. 

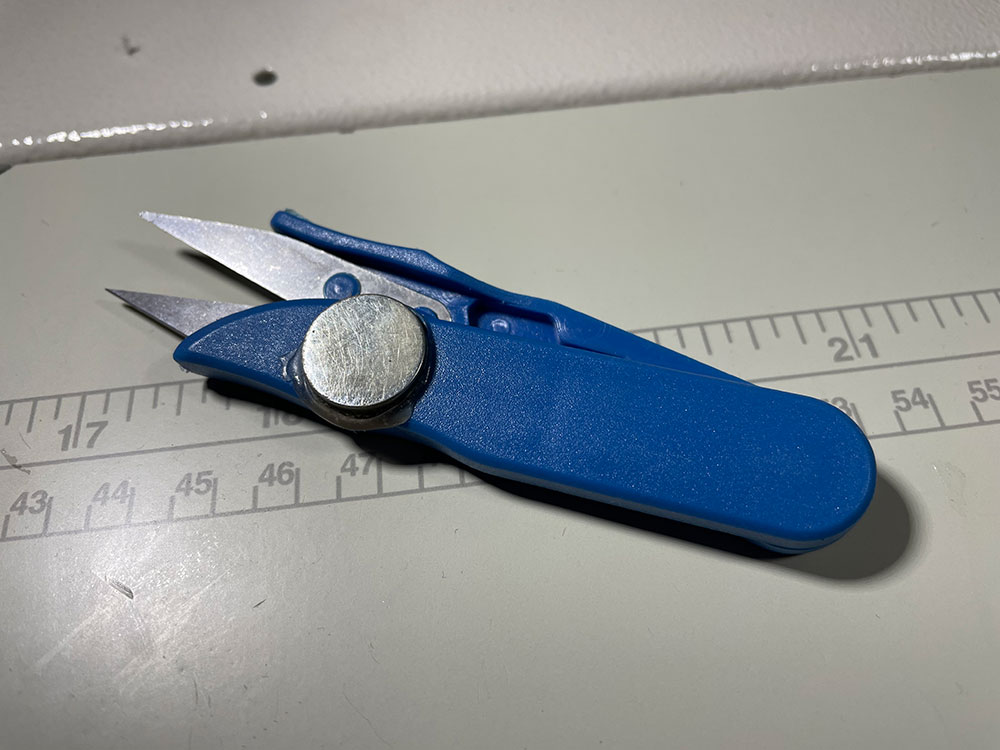
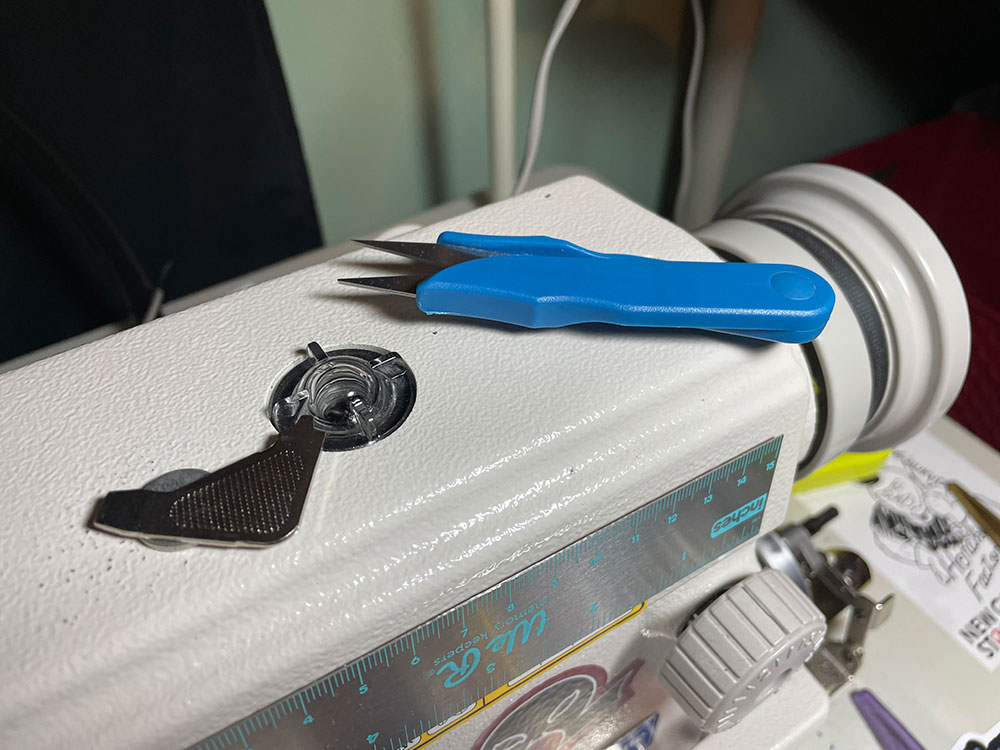
Just a quick one today. If you have an industrial machine or one of those old home machines that has a lot of metal in it, this little trick is mighty helpful. I have a pair of cheapo thread snips that I’ve used for years. I just hotglued a neodymium magnet to it, and now it lives on top of my sewing machine and never gets lost. I don’t even have to look at it to grab it or put it back. My hand knows exactly where it is and where to return it, and the strong magnet makes sure it stays there.

Here it is in its normal home on top of the machine. You can also see a small metal right angle screwdriver that I use to tighten and loosen my needle screw. I didn’t need to glue the magnet on to that; since it’s metal, it just sits there loose, attracted by the magnet. 

There’s also a magnetic ruler sitting on the front of my machine, but I never remember it’s there. I have another ruler to my left that I usually use, as well as a meter-long measurement printed on top of my sewing table.

Tools of the Trade

Day Twenty-Two: Simple Photo Studio

A few years ago, I spent each day in January writing about a different tool I use in my maskmaking. As I am currently redesigning my entire website in the new year, I thought it might be nice to revisit this project.  Each day in January 2021, I’ll share a different item that I use in my studio. I hope some of these can help other people who are interested in making wrestling masks. 

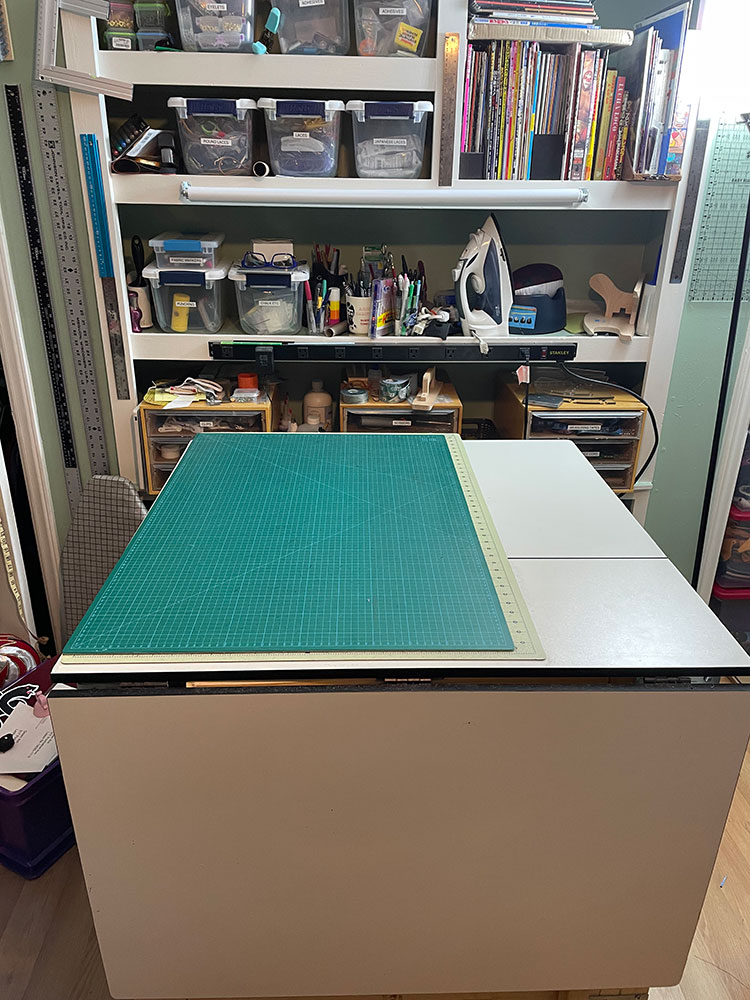
Back in the day when I wanted to photograph my masks, I had one of those trifold foamcore boards like kids would do science fair projects on, and I’d stick that on a table as a backdrop for the photos. It worked, but created some bad shadows and I thought I could do better. I saw a tutorial on YouTube that suggested using a piece of white poster board, curved so that it would help eliminate hard shadows. I thought about that, and then came up with the idea of using a common roller blind instead of a piece of poster board. It would naturally drape into a curve, and it’s self-storing.

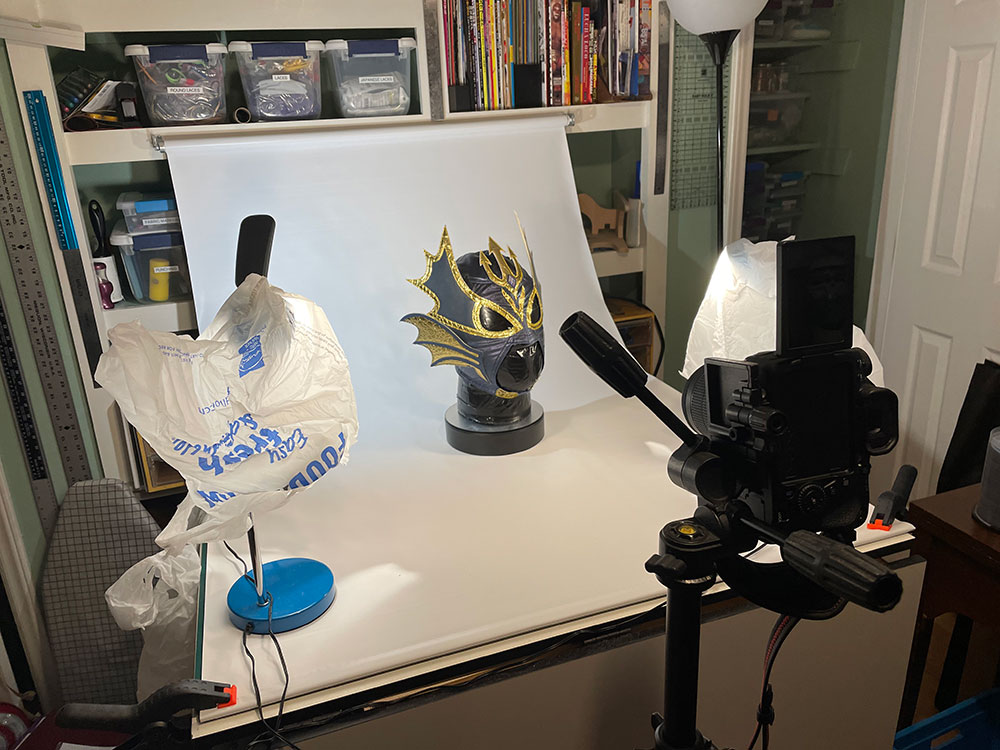
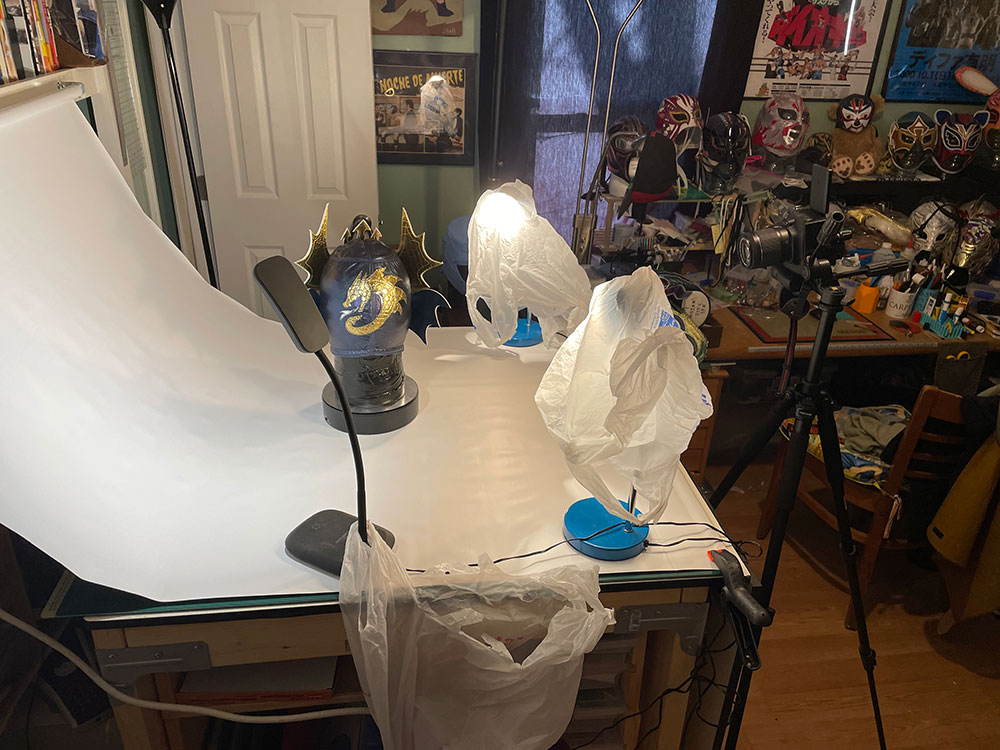
The roller blind is attached to my built in shelves behind my cutting table. When I need to take pictures, I just pull out the blind and clamp the end to the edge of the table with some simple spring clamps. Then I have a few very bright LED desk lamps which I bought at the dollar store (yes, these were a dollar apiece, and they are EXCELLENT lamps!). I put white grocery bags over the lamps to act as a light diffuser; looks ghetto but works great. One lights the backdrop while the other two light the mask.

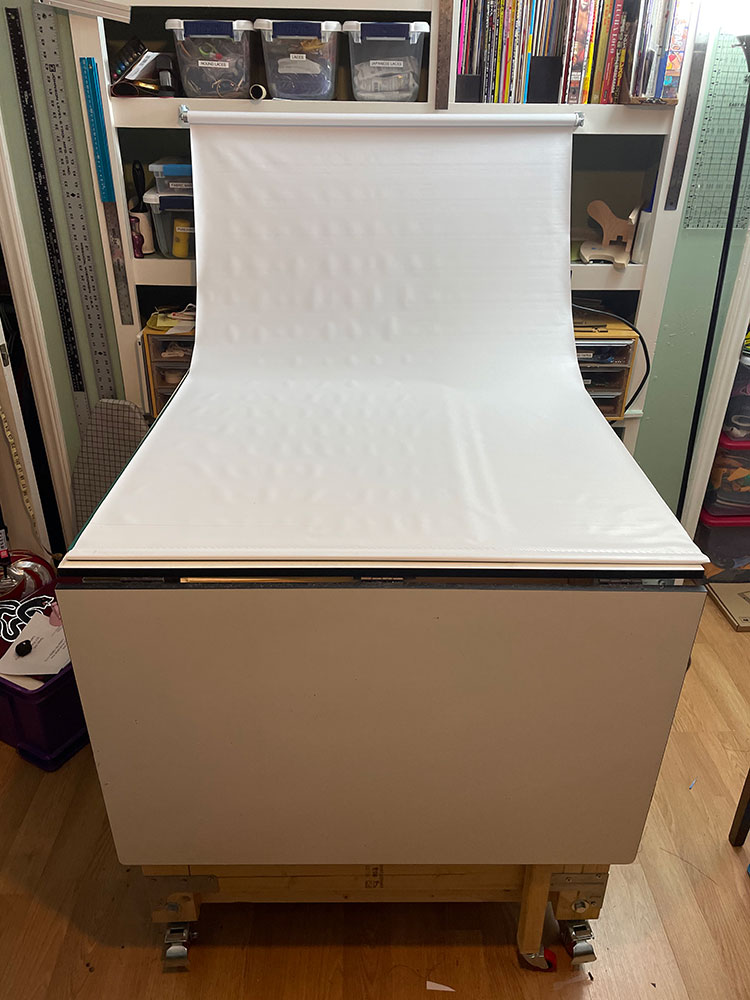
Here’s what the roller blind looks like without all the paraphernalia. It gives a nice, even white background, and I just pull it out far enough so that it naturally creates that gentle curve that makes the photographs look a lot more professional.

Here’s what the area looks like when the blind is rolled back up—it basically disappears! The lights go into a plastic milk crate which slides underneath my spare sewing machine table. Basically, the whole system is a photo studio that sets up in minutes and takes up practically no space when you don’t need it—win/win!